2. If necessary, remove some of the fluid from the brake reservoir using a clean syringe. If this is not done, there is a risk that liquid may splash out of the reservoir during subsequent operations.
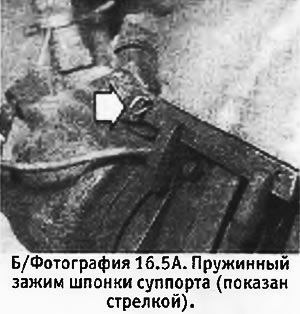
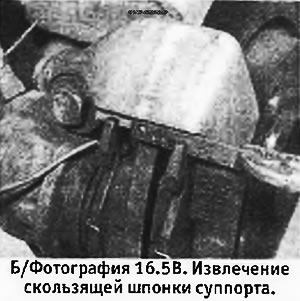
3. Remove the spring clip that secures the sliding key of the caliper. Pull the pin out of the caliper (see photo).
 |  |
4. Using a large pry bar, press the caliper cylinder against the disc, using the shock absorber as a fulcrum. Pull out the outer block.
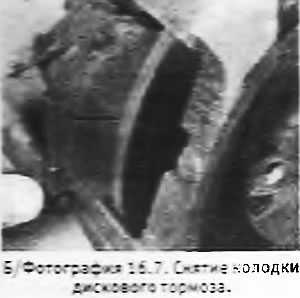
5. Pull the caliper back to the axis of the machine and remove the inner block (see photo).

6. Inspect the caliper for leaks and check that the cylinder can slide freely. Inspect the brake disc for wear and damage.
7. If at least one pad no longer has a groove running through the center of the friction side of the pad, all 4 pads must be replaced.
8. Clean the caliper inside and out with a dry paint brush and wipe with a damp cloth, being careful not to inhale the rising dust.
9. Using a blunt tool, push the piston all the way into the cylinder.
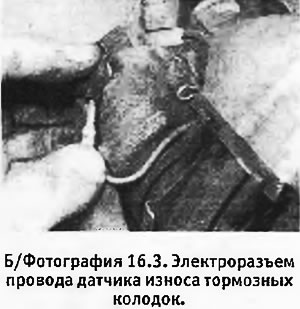
10. Coat the lower slider of the caliper with a special anti-seize compound for disc brakes. Install the inner and outer pads, moving the cylinder and caliper as necessary. Connect the brake pad wear sensor harness.
11. Press the pads down and secure with a key. Lock the key in place with a new clamp.
12. Repeat the entire procedure on the second front brake, replace the wheels and lower the machine to the ground. Tighten the wheel nuts or bolts to the correct torque.
13. Add brake fluid to the reservoir and, with the engine running, press the brake pedal several times so that the pads fit on the disc. Upon completion, refill the liquid in the reservoir (of necessity).
14. Remember that new pads need grinding in, so at first you should drive carefully and do not brake at high speed. branded pads "Peugeot" have a thin abrasive coating on the friction surface to remove small defects from the discs. The manufacturer's instructions must be strictly followed when using these pads.
