
1. Disconnect the ground wire from the battery.
2. To remove the trim frame of the dashboard, lift it from below and bend it towards you (see photo).

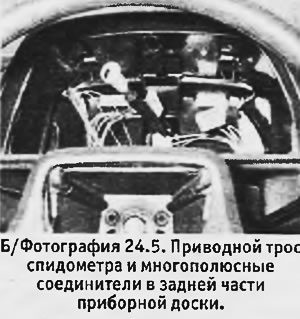
3. Insert a small screwdriver between the top of the dashboard and the panel "torpedoes", lift the top latch and let the top of the dashboard fall out onto you. Raise the dashboard and pull it out of the bottom latch (see photo). Dashboard movement is limited to the wires connected to the back of it - be careful not to pull them too tight.

4. Disconnect the speedometer drive by squeezing its end piece on the sides and pulling it out of the speedometer. If you find it difficult to get your hand behind the dashboard, you can make the job easier by disconnecting the speedometer drive from the gearbox (see chapter 1A) and then dragging it a little into the cabin so that the instrument nipple can be more deflected towards itself.
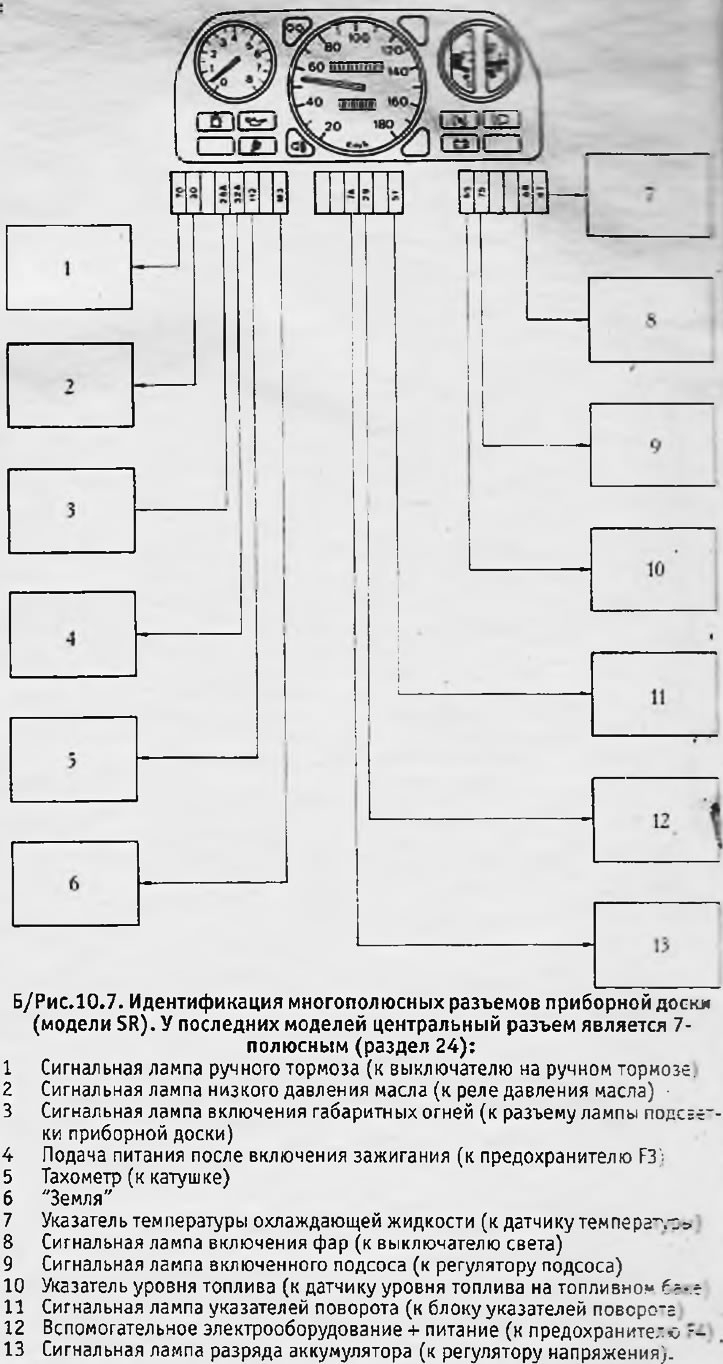
5. Disconnect the multi-pin connectors and remove the dashboard assembly.

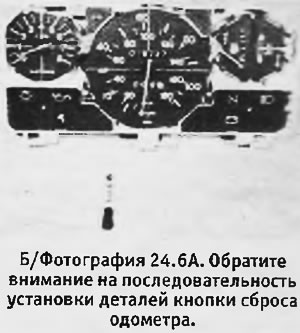
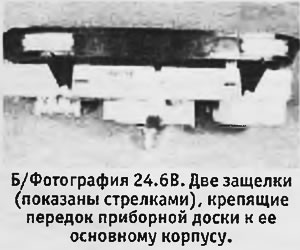
6. Disassembly of the dashboard should only be done in extreme cases. Be careful not to leave greasy or dirty marks on the interior surfaces "glasses" appliances. Odometer reset button (distance meter) can be carefully removed from its roller, but be careful not to lose the washer, rubber bushing and spring. Pay attention to their position so as not to be confused during installation. There are 2 latches on the top of the dashboard that allow you to remove the front of the board from its main body (see pictures).
 |  |
7. Illumination lamps and signal lamps are installed from the inside of the board. To remove the lamp, turn it counterclockwise and pull it out of the panel (see photo).

8. Installation of lamps and assembly and installation of the dashboard are carried out in reverse order.
