2. Remove the air cleaner (see chapter 3B).
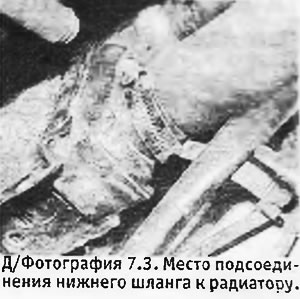
3. Loosen the clamps and disconnect the upper and lower hoses and the ventilation hose from the radiator (see photo).
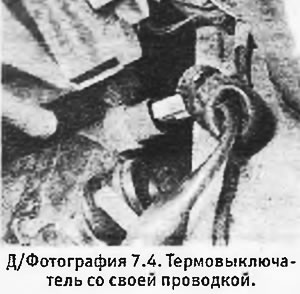
4. Disconnect the wiring from the thermal switch located on the right side of the radiator (see photo).
5. Remove the grille.
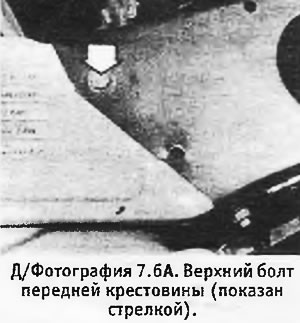
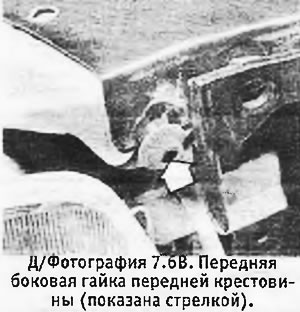
6. Remove the top bolts, the cooling fan shroud mounting bolts, and the front side nuts so that the front cross, together with the hood lock and cable, can be moved to the side of the engine compartment (see pictures).
 |  |
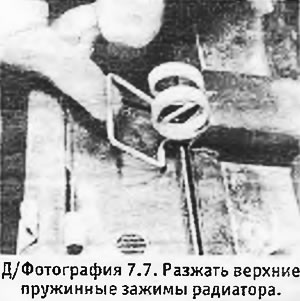
7. Pull up the upper spring clips and pull the top of the radiator out of them (see photo).
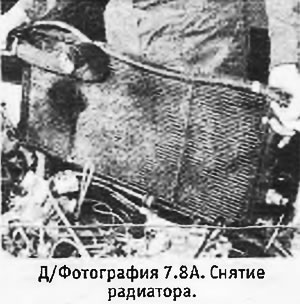
8. Carefully lift the heatsink out of the lower support rubbers (see pictures).
 | 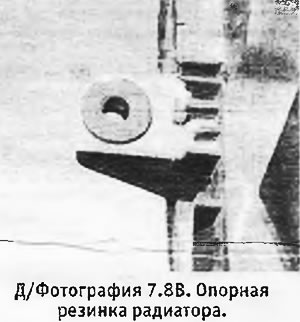 |
9. Check the condition of the radiator support rubbers and, if necessary, replace them.
10. The radiator is installed in the reverse order. Pour coolant into the system (see section 6).
