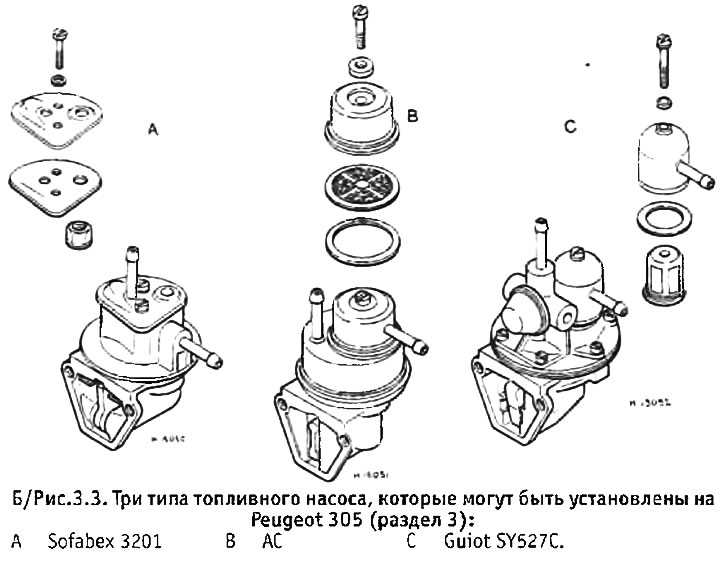
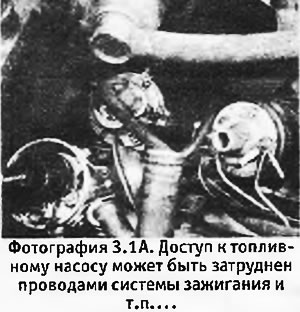
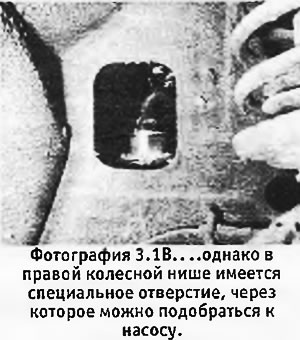
1. The fuel pump is located in the right rear corner of the engine and stands on the casing of the gas distribution mechanism, under the distributor (see pictures). The pump has inlet and outlet hoses and is attached to the timing housing with 2 bolts. The models under consideration may have various types of fuel pumps, but they are all diaphragm pumps. Before disassembling the pump, you should purchase a repair kit for it. If the old pump is not working well and spare parts are not available, the pump will have to be replaced.
 |  |
2. To remove the pump, disconnect the inlet and outlet hoses from it and temporarily plug them to prevent fuel leakage and dirt from entering the system. Unscrew the 2 fixing bolts and carefully remove the pump from the casing of the timing mechanism. Remove the old pump gasket.
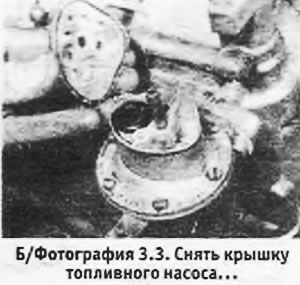
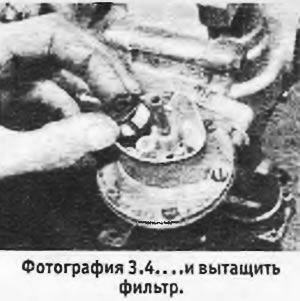
3. The pump shown in the photos has a top cover fixed with 2 screws. Other types of pumps have either one screw or more than 2 screws. Unscrew the screws securing the cover, paying attention to the fact that there are sealing washers under their heads. Remove the cover and the gasket under it, after which the strainer will become visible, standing in the pump housing (see photo).
4. Pull out the filter and wash it in clean gasoline (see photo). Blow the filter with air to dry it faster (it is strictly forbidden to wipe the filter with a cloth). Clean the pump from the inside with gasoline - sediment may accumulate on its bottom, which must be removed. And in this case, it is forbidden to use rags.
5. Some types of pumps will not require further disassembly. If you still want to disassemble the pump further, stock up on a repair kit. Mark the relative position of the upper and lower halves of the pump (for later assembly) and gradually loosen and remove the screws holding the halves together. The diaphragm of the pump is connected to the control mechanism below it, and the structural details depend on the type of pump. Pay attention to the sequence of disassembly of the pump so that it can be reassembled in reverse order.
6. Replace all defective parts. The repair kit includes various seals and gaskets that must be installed in place of the old ones, regardless of their condition.
7. The pump is assembled in the reverse order. Check that the upper and lower halves of the pump are correctly aligned and gradually, in a diagonal sequence, tighten the screws that hold them together. Be careful not to over-tighten the fixing screws on the top cover of the pump.
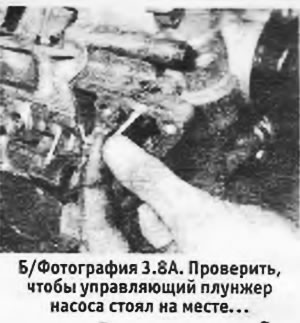
8. Before installing the pump, check that its control plunger is in place in the timing housing, and install a new gasket, which must have the same thickness as the old one. Tighten the 2 mounting bolts to the correct torque and check that the fuel hoses are installed in their original places (see pictures).
 |  |
