2. If the engine is on the machine, remove the air cleaner and valve cover.
3. It is very important that the valve clearance is adjusted with the valve rocker resting on the back of the cam (those. on the opposite side of the cam lobe). To ensure this, the regulation must be carried out in the following sequence (which also minimizes the need to rotate the crankshaft):
| Fully open valve | adjustable valve |
| 1 graduation | 3 inlet and 4 outlet |
| 3 graduation | 4 intake and 2 exhaust |
| 4 graduation | 2 intake and 1 exhaust |
| Graduation 2 | 1 intake and 3 exhaust |
The correct values of valve clearances are indicated in the Specifications. The crankshaft can be rotated with a wrench thrown over its pulley bolt (removing the spark plugs will make the job easier). Exhaust valves are at the front of the engine (installed on the car), inlet - in the back.
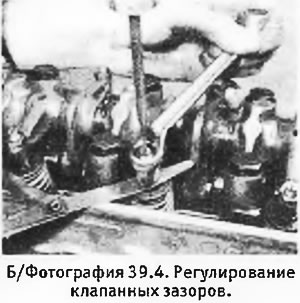
4. Turn the crankshaft so that the desired valve opens, and insert a feeler gauge between the tappet and the adjustable valve stem. Loosen the locknut with a wrench and turn the adjusting screw with a screwdriver (see photo) so that the probe of the desired thickness passes between the pusher and the stem with a slight interference. Tighten the lock nut and check the gap again, adjusting if necessary. Repeat this procedure until all valve clearances are adjusted.

5. Valve clearances should be checked and adjusted after each removal of the cylinder head, and also after re-tightening the cylinder head bolts after engine overhaul.
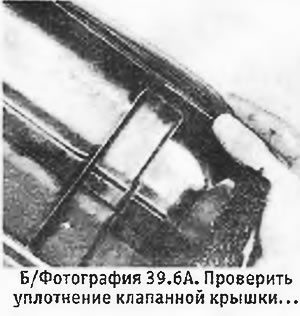
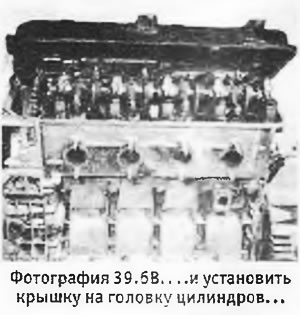
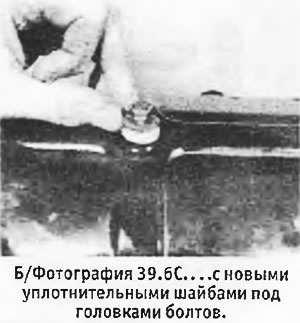
6. Check the condition of the valve cover seal and replace if necessary. Install the valve cover (see pictures). Install new sealing washers under the mounting bolts and tighten the bolts. If the engine is on the machine, reinstall the air cleaner.
 |  |

