 |  |
 |  |
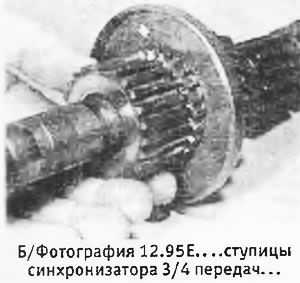 | 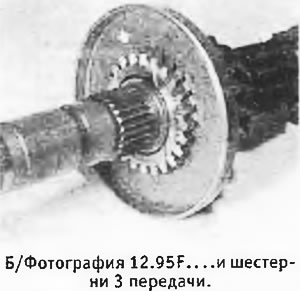 |
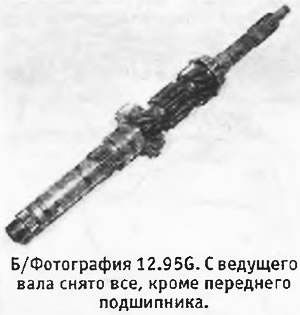
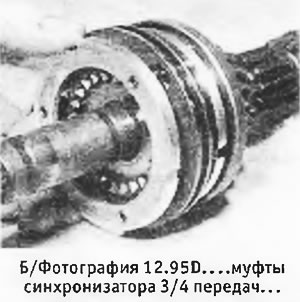
96. Mark the relative position of the hub and the synchronizer sleeve and put a mark on them so that you can see which side they look at the 4th gear.
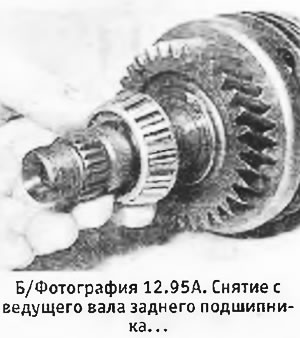
97. Remove the front bearing from the shaft (best with a press or special puller). As a last resort, you can support the bearing and drive the shaft out of it (do not forget to put something under it to protect the end of the shaft).
98. After removing the drive shaft bearings, they must be replaced. Press the rear bearing outer race out of the end cap and press in a new race in its place, making sure it is seated correctly.
99. Before assembling, check that the drive shaft is free of scratches and wear marks. Lubricate all parts as they are installed on the shaft.
100. Install a new front bearing on the shaft and press it in (Score) into place with a suitable tube.
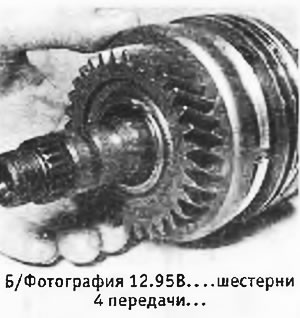
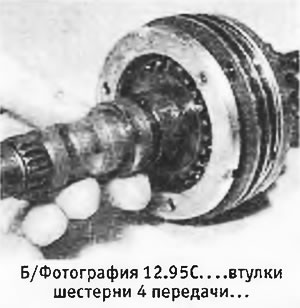
101. Install 3rd gear, 3/4 synchroniser and 4th gear with its bushing. Be careful not to confuse the 3rd and 4th gears, as they look very similar (gear 4 gear has more teeth). If you have not replaced synchronizer parts, make sure to align the marks made during disassembly.
102. Install the rear bearing onto the shaft using a suitable tube.
103. The drive shaft is assembled.
