2. Inspect the clutch disc for wear and damage to the friction linings and 6 damping springs. If the pads are worn so that they do not protrude more than 1.0 mm from the surface of the rivets, or if they are worn, they should be replaced (in the latter case, having previously localized and eliminated the source of oil leakage. Most likely, oil can leak through the oil seal of the inner half of the clutch housing or through the drive gear - see section 7).
3. Inspect the contact surfaces of the flywheel and clutch pressure plate. They should be shiny and smooth, although slight scratches are acceptable. With severe wear of the friction linings of the driven disk, the rivet heads can draw grooves on the surfaces of the flywheel and pressure plate. The presence of such grooves leads to clutch slippage, jerks when it is turned on and rapid wear of the clutch mechanism as a whole. In this case, it is useless to change only the driven disk - the entire clutch needs to be replaced. Minor imperfections can be removed from the surfaces by sanding, but in most cases the clutch needs to be replaced.
4. If there are only small defects and the general satisfactory condition of the clutch mechanism, treat the contact surfaces with sandpaper and clean them thoroughly with methyl alcohol. Make sure that no oil gets on the clutch parts.
5. We do not recommend disassembling the clutch basket yourself. If defects are found only on the pressure plate or only on the flywheel, they should be replaced as a set. The flywheel and pressure plate are balanced together during assembly and cannot be replaced separately.
6. Inspect the teeth of the starter crown, seated on the flywheel using the shrink fit method. The crown is characterized by local wear (in any one place along the periphery of the crown). The starter ring can be replaced individually, but this work must be carried out by a specialist.
7. Check the release bearing for wear by turning it and checking its movement. Considering the amount of work required in order to get to the release bearing; it is recommended to replace it regardless of the condition (especially if you are changing the clutch disc).
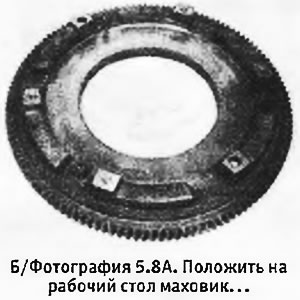
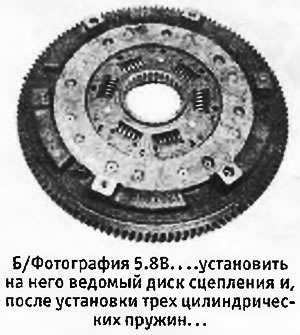
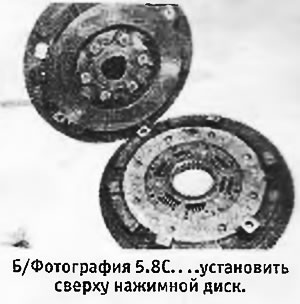
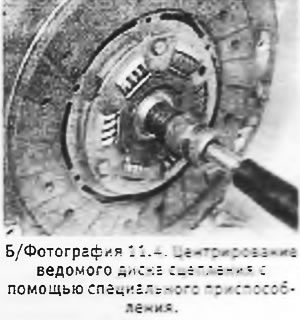
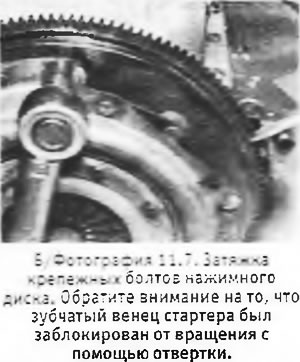
8. Start assembling the clutch by laying the flywheel on the work table. Install the clutch disc onto the flywheel, paying attention to the fact that it can only fit on the flywheel in one position. Check that the 2 diametrically opposed dowel pins are in place on the flywheel and install the damping springs in their place. Install the pressure plate from above, checking that the shock-absorbing springs are in place in the pressure plate. Insert 6 fixing bolts with new wave washers, but do not tighten them yet, as the clutch disc must be centered on the crankshaft (see pictures).
 |  |
 |  |
9. Inspect the drive gear on the crankshaft (although it is not essentially part of the clutch). Pay particular attention to the gear splines that mesh with the clutch disc splines. When they wear out, the clutch will begin to slip. Removal and installation of the drive gear is covered in section 7.
