2. Perform the procedures required to remove the clutch (see section 4), but at the same time drain the coolant and completely remove the radiator (see chapter 2). In addition, drain the oil from the engine sump (see chapter 1). Replace the sump drain plug sealing washer, reinstall the plug and tighten it to the correct torque. Place a jack under the left side of the engine and slightly raise the engine with it. At the same time, move the left edge of the engine forward about 6 cm (the engine can be pressed out with suitable wooden levers and then supported with something so that it does not move backward during operation). Remove the starter without disconnecting the wires from it, and move it to the side.
3. After removing the clutch, unscrew the bolts securing the inner half of the clutch housing to the engine and remove the housing. The drive gear will come out with it, so the crankcase must be removed very carefully. Cover the open end of the engine to keep dirt out and transfer the inner half of the crankcase with the drive gear to a clean work bench.
4. Using circlip pliers, pry apart the circlip on the pinion gear. Remove the ring, slinger plate and O-ring. After that, you can remove the drive gear from the crankcase.
5. Clean the drive gear in kerosene and dry it thoroughly, inspect the gear for damaged or deformed splines, damaged oil seal housings, chipped or worn teeth, faulty thrust surfaces, and seized or worn needle bearings.
6. Clean the clutch housing and inspect it for damage. If the seam between the crankcase and the engine is leaking oil, inspect the gasket surface for defects and damage. Using a ruler and feeler gauges, check the gasket surface for distortion. The maximum allowable deformation is specified in Specifications.
7. Remove one old oil seal from the clutch housing and the second from the groove in the drive gear.
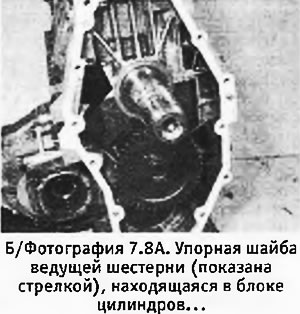
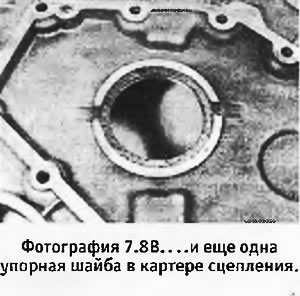
8. If the pinion thrust washer located on the cylinder block or the thrust washer in the clutch housing is worn or scratched, it must be replaced (see pictures). However, in this case, it will be necessary to check and, if necessary, adjust the axial movement of the drive gear. Likewise, axial movement should be checked before installing a new pinion gear or replacing the clutch housing. The axial movement of the drive gear is adjusted using washers that are installed under the thrust washer of the drive gear in the clutch housing.
 |  |
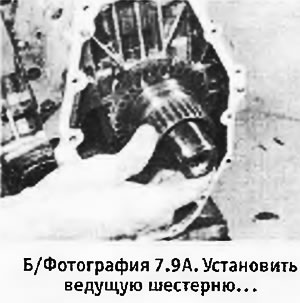
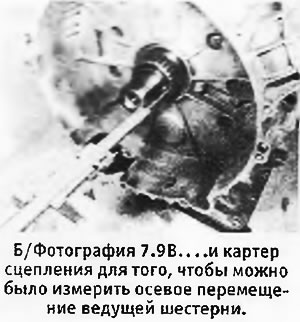
9. To check the axial movement, install the drive gear in the clutch housing, install the housing on the engine and fix it with at least 6 bolts, tightening them to a torque of 1.25 kg m. If you have a dial device, it should be installed so that the button of its roller rests on the outer surface of the drive gear, and the roller itself is parallel to the axis of the crankshaft. Press the drive gear against the thrust washer on the main bearing surface, zero the gauge, and then pull the drive gear forward until it rests against its thrust washer in the clutch housing. Take instrument readings. If you do not have a dial gauge, you can use a caliper with a depth gauge instead (see pictures). Compare the value you received with the figure indicated in Specifications and, if necessary, adjust the axial movement using shims. The latter are available in different thicknesses (see specs).
 |  |
10. To replace the pinion thrust washer, or to change the number of shims underneath, remove the thrust washer from the crankcase, install the shims to the correct thickness, and then replace the thrust washer. Make sure that all washers are absolutely clean and dry. dirt on them can affect the amount of axial movement of the drive gear.
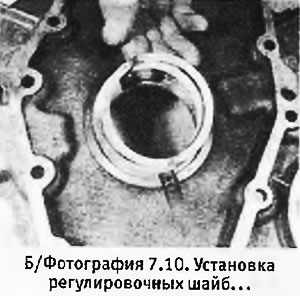
11. Press the thrust washer firmly into place and secure by tapping it with a punch at three points 120°apart from each other. This will cause a slight deformation of the crankcase, due to which the washer will be held in place. Wipe the washer clean and lubricate with clean engine oil (see photo).
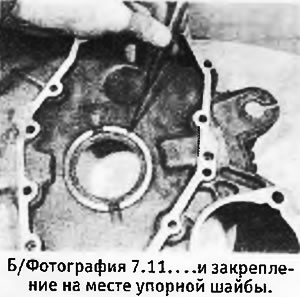
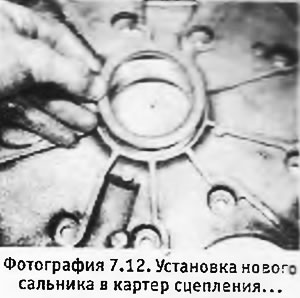
12. With the clutch housing lying on the work table with the side facing the engine down, and with the drive gear removed from the crankcase, clean the oil seal seats in the crankcase. Apply a little grease to the new oil seal and carefully hammer it into place with the sponges inward. Make sure the seal is fully seated in the crankcase (see photo).
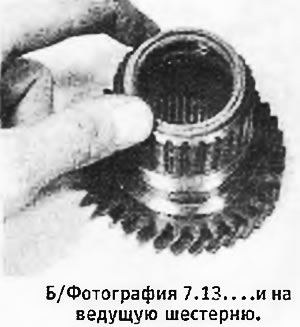
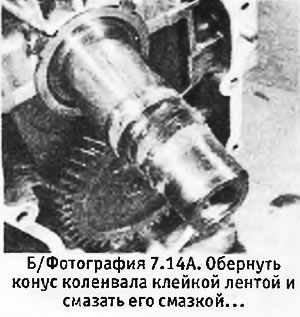
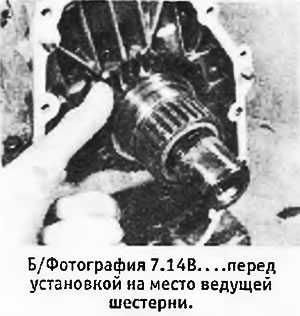
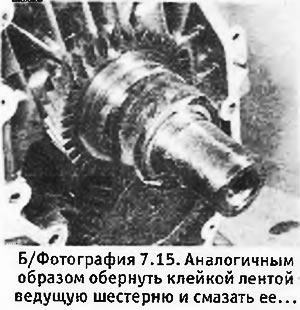
15. Wrap tape around the splines of the drive gear on which the clutch disc is to be installed, and cover the shoulder on the bearing surface with tape so as not to damage the oil seal in the clutch housing. Coat the band with grease to make it easier to install (see photo). Check that all traces of the old gasket have been removed and install a new gasket on the engine. Lubricate the teeth of the drive gear and the gears of the drive shaft of the gearbox with engine oil. Lubricate also the thrust washer in the clutch housing.
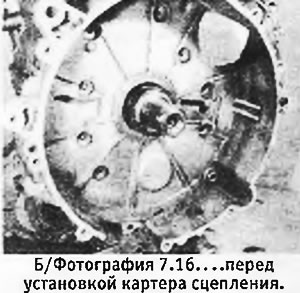
16. Carefully install the clutch housing onto the engine by running the oil seal lips over the lubricated adhesive tape on the drive gear splines (see photo). Install the 12 mounting bolts with new wave washers and tighten them to the correct torque.
 |  |
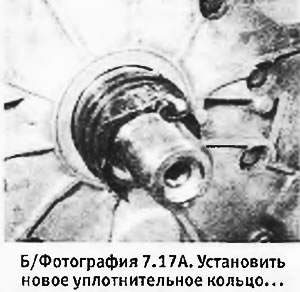
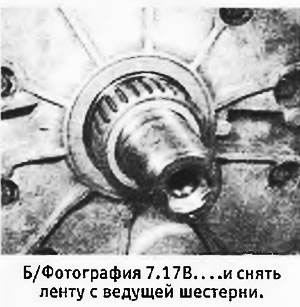
17. Remove the adhesive tape from the drive gear so that the place for installing the sealing ring opens (slots must remain covered with tape). Install a new O-ring and remove the tape from the splines (see pictures).
 |  |
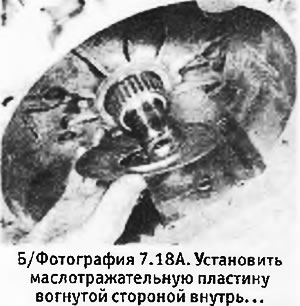
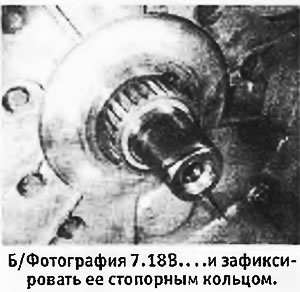
18. Install the oil slinger plate on the drive gear with the concave side inward (towards the engine). Press the slinger plate into place so that it is pressed against the O-ring, and install the retaining ring, making sure that it fits into its groove on the drive gear (see pictures). Check that there are no traces of adhesive tape and grease on the splines of the drive gear and on the crankshaft cone.
 |  |
19. If you replaced the clutch housing, transfer the setting scale from the old housing to the new one and adjust its position (see chapter 4).
 |  |
20. Install the remaining clutch parts and accessories in the reverse order of their removal. Pour coolant and oil into the engine, start the engine, let it warm up and retighten the crankshaft pulley bolt.
