Attention! Door upholstery may vary depending on trim level. Therefore, the process of removing the upholstery may differ from that stated.
Removing
1. Remove the negative terminal from the battery.
Front door
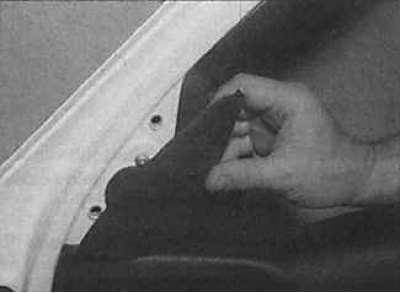
2. Remove the mirror trim from the inside of the door.
3. On manual window models, remove the handle from the shaft and the gasket.
4. Remove the switch from the door armrest and the speaker from the door.
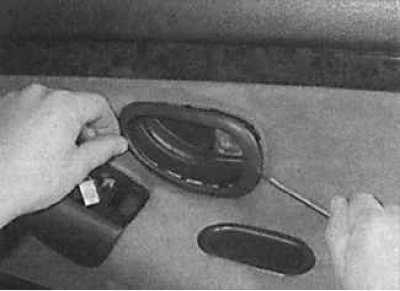
5. Remove the inner handle for opening the door lock and use a screwdriver to remove the decorative frame of the handle.
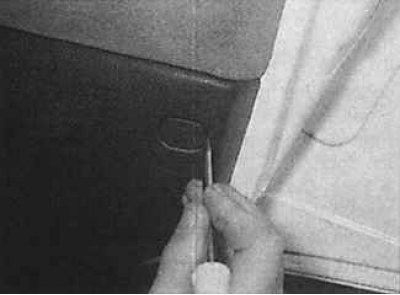 | 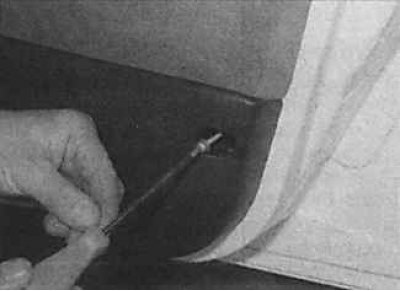 |
6. Using a screwdriver, remove the plug from the bottom rear of the door trim (photo on the left) and unscrew the fastening screw (photo on the right).
7. Remove the upholstery and unscrew the screw securing the back of the armrest to the door.
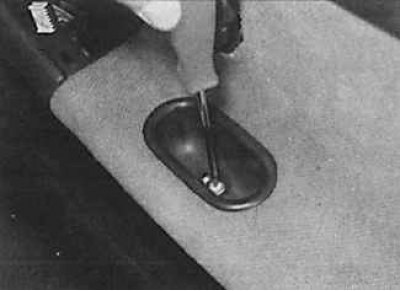 | 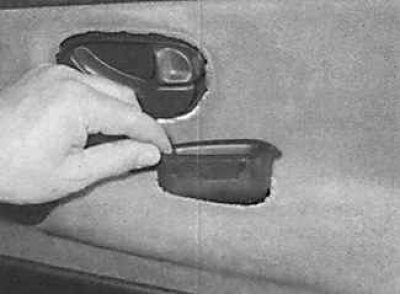 |
8. If available, remove the cover from the armrest pocket, unscrew the fastening screw (photo on the left) and remove the armrest pocket (photo on the right).
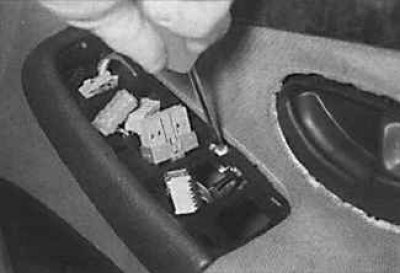
9. If available, unscrew the screw that secures the switch box to the door upholstery.
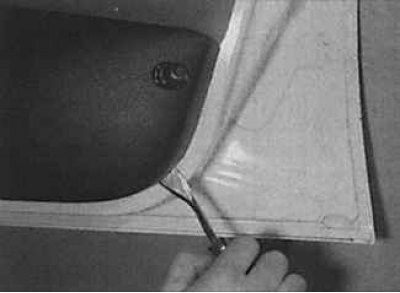 | 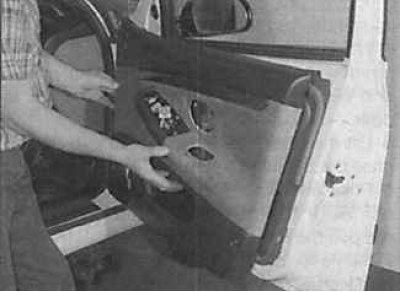 |
10. Check that all the screws securing the door upholstery are unscrewed, then use the lever to separate the upholstery from the door (photo on the left) and, moving the upholstery up, remove it from the door (photo on the right).
Backdoor
11. The upholstery of the rear door is removed in the same way as in the front door.
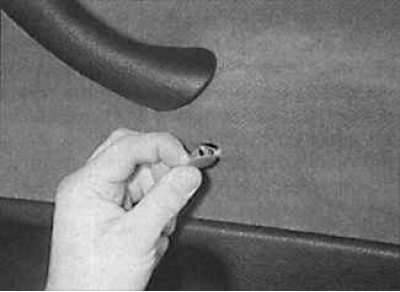
12. Remove a decorative cap of the screw of fastening of an upholstery of a back door.
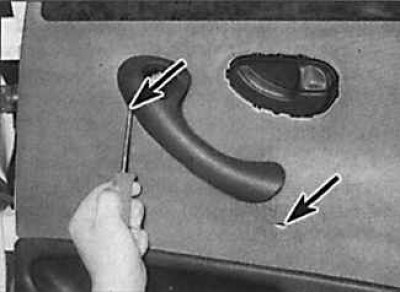
13. unscrew the screws (indicated by arrows) rear door upholstery.
Installation
Installation is made in sequence, return to removal. Check the operation of all switches on the door.
