Front seat belt
1. Remove the negative terminal from the battery.
2. Remove the corresponding front seat.
3. Remove the mounting brackets and remove the trim under the instrument panel.
4. If the work is carried out on the driver's side, unscrew the bolt and move the hood release lever to the side.
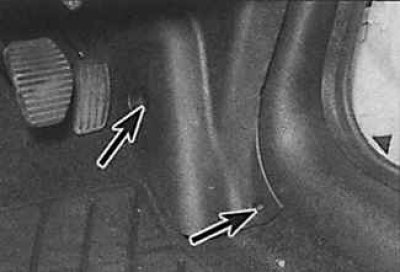
5. Unscrew the screws inside the car (indicated by arrows) and remove the front side trim.
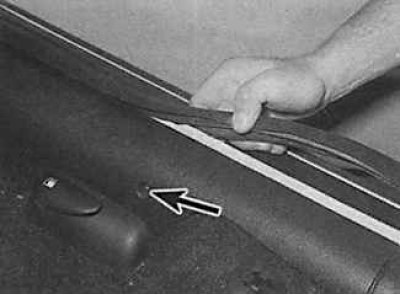 | 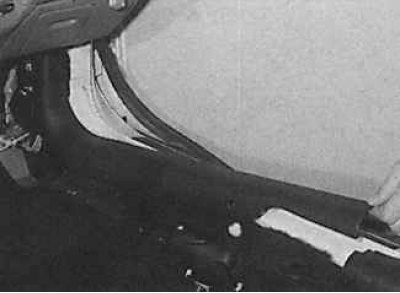 |
6. unscrew the screw (indicated by the arrow in the photo on the left) and remove the inner decorative sill trim (photo on the right).
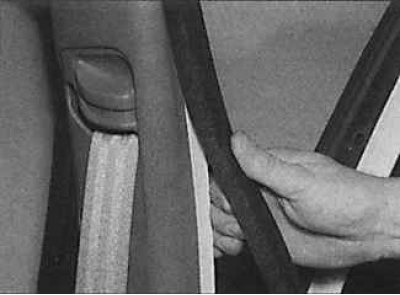
7. Remove the front and rear door seals from the B-pillar.
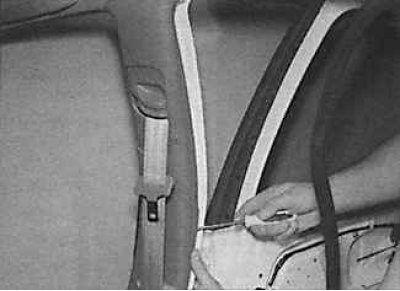
8. Remove the interior trim of the B-pillar. Removal must begin at the top of the rack.
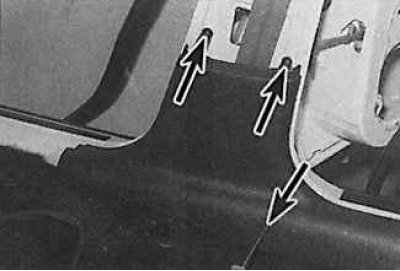
9. unscrew the screws (indicated by arrows) attaching the front part of the rear door sill trim to access the inertial seat belt tensioner drum.
10. To completely remove the rear door sill trim, the rear seat must be removed.

11. Remove the 2 screws and remove the seat belt guide from the B-pillar.
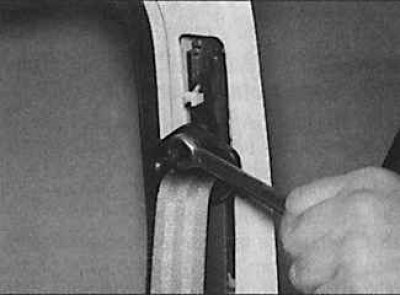
12. Remove the seat belt top anchor bolt and separate the seat belt from the height adjuster.
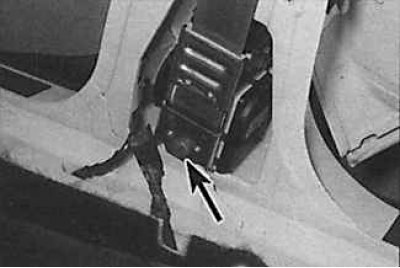
13. unscrew the bolt (indicated by an arrow) fastening the inertia drum of the seat belt and remove the drum with the belt.
Rear seat belts on sedan models (Saloon)
14. Remove the rear seat cushion and side cushions.
15. Unscrew the bolt of the lower anchoring of the seat belt to the floor.
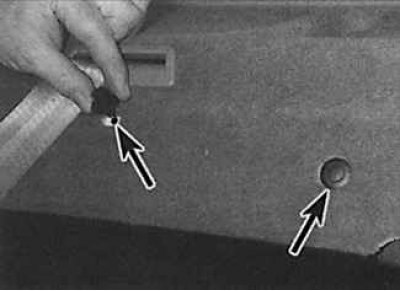
16. Remove the pistons (indicated by arrows) fastening the front of the rear shelf to the body.
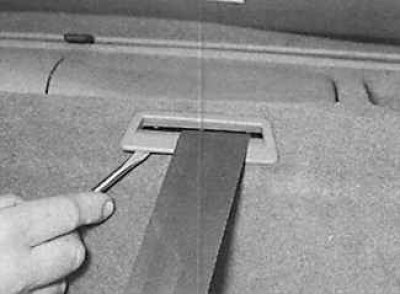 | 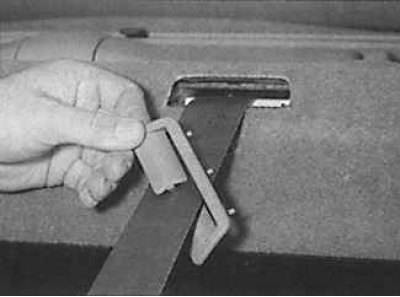 |
17. Remove with care (photo on the left) and extract (photo on the right) decorative trims for passing the belt through the rear shelf.
18. Remove rear speakers (columns).
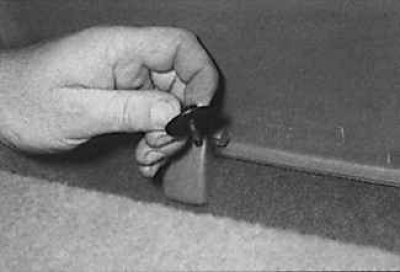
19. Open the glove box in the center of the rear shelf and unscrew the shelf fixing bolt.
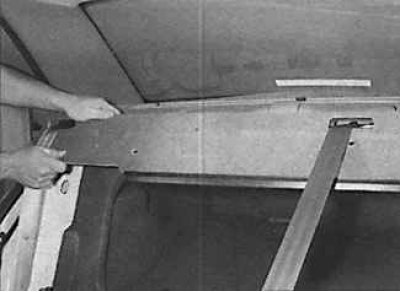
20. Lift the front edge of the shelf and, sliding forward, remove it from the nest.
21. Unscrew the bolt securing the inertia drum of the seat belt and remove it.
Rear seat belt on combi models (Estate)
22. Open the tailgate and remove the side seal on the desired side. Remove the top interior trim from the C-pillar and remove the side storage cover in the trunk. Remove the luggage compartment cover.
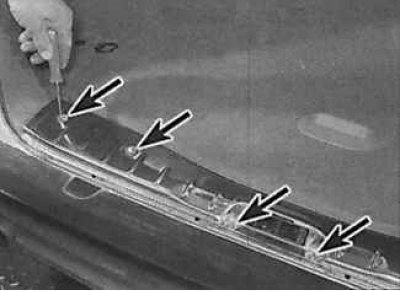
23. unscrew the screws (indicated by arrows) fasteners for the rear trim of the luggage compartment.
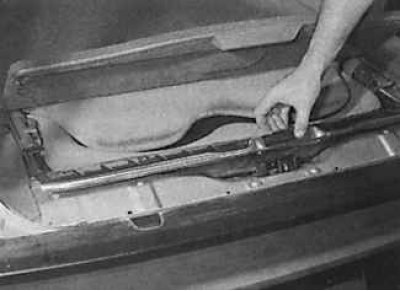 | 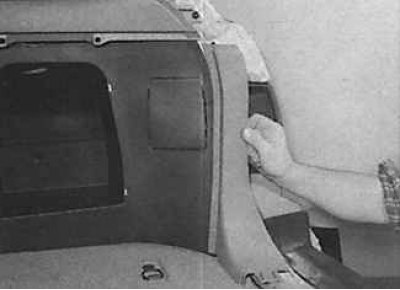 |
24. Remove rear luggage compartment trim (photo on the left) and side rear trim of the luggage compartment (photo on the right).
25. Remove the cover and unscrew the lower seat belt mounting bolt.
26. Remove the bezel and unbolt the upper belt mount from the rack, noting the location of the spacers on the upper belt mount.
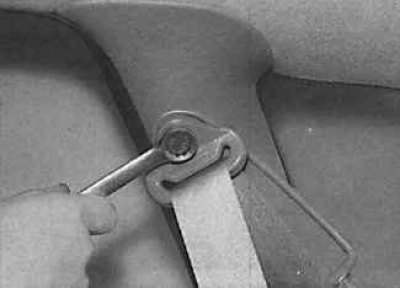
27. Unscrew the bolt of the upper fastening of the seat belt.
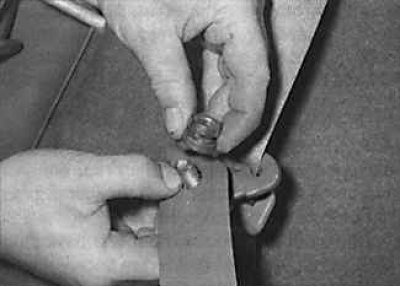
28. When removing washers and spacers from the belt mounting bolt, it is necessary to note their relative position.
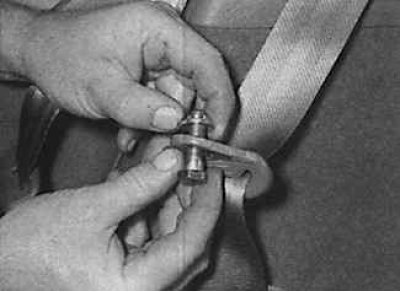
29. Remove the stepped washer from the upper seat belt anchor bolt.
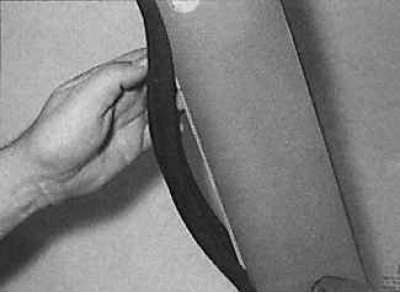 | 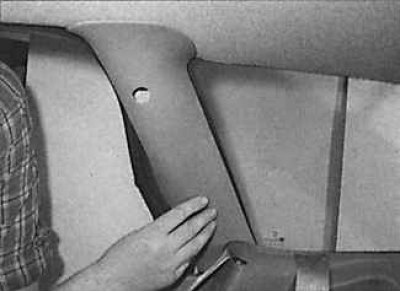 |
30. Remove the rear side door seal from the C-pillar (photo on the left) and interior trim of the rear side pillar (photo on the right).
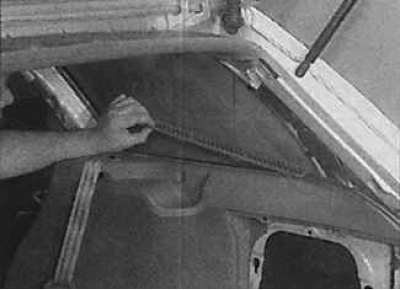
31. Using a screwdriver, remove the ventilation grille from the bottom of the rear side window.
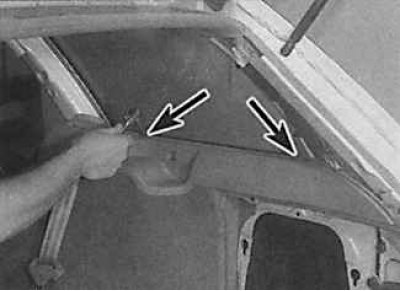 | 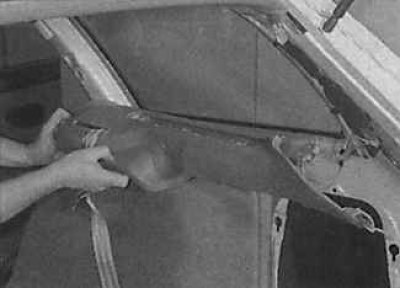 |
32. Loosen the fixing screws (indicated by arrows in the photo on the left) and remove the side decorative lining of the luggage compartment (photo on the right).
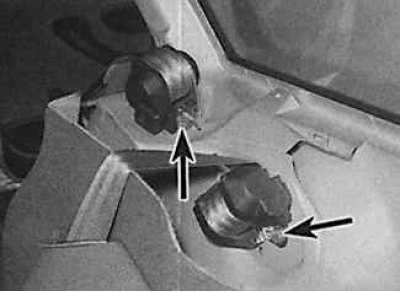
33. unscrew the bolts (photo on the left) and remove the seat belt pulley.
34. Installation is made in sequence, return to removal.
