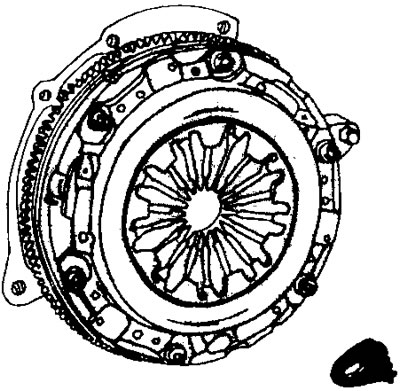
Attention! Pressure plate and diaphragm spring are not separated and are therefore replaced as a set if damaged. The manufacturer is constantly improving the design of the pressure and driven discs. For this reason, the vehicle identification number and engine number must be specified when ordering them.
The clutch can be removed without removing the engine from the engine compartment.
1. Remove the gearbox (see relevant chapter).
2. Mark the mounting position of the clutch relative to the flywheel using a center punch.
3. Loosen the six clutch-to-flywheel bolts in a criss-cross pattern to relieve pressure from the diaphragm spring. After that, completely unscrew all the bolts in order. To keep the flywheel from turning, block it with a brake shoe or a large screwdriver, inserting it between the teeth of the ring gear (see illustration).

2.3 Brake shoe mounted on the flywheel ring gear to keep it from turning
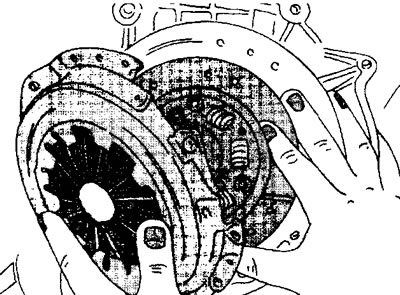
4. Remove the clutch by first disconnecting the pressure plate, while pressing the one driven to the flywheel (see illustration).

2.4 Remove the clutch by first disconnecting the pressure plate, while pressing the one driven to the flywheel
After that, remove the driven disk.
5. Wipe the inside of the flywheel with a rag, and inspect its working surface. If the driven disk has worn down to the heads of the rivets, then it is possible that the rivets could scratch the surface of the flywheel or the clutch pressure plate.
Attention! If work is performed during which the removal of the engine or gearbox is necessary, it is recommended to remove the clutch to check the condition of its discs.
