Lockers
Front wheels
1. Fully apply the parking brake. Raise the front of the vehicle and securely jack stands under it (see «Lifting and placing the car on supports»). Remove the corresponding front wheel.
2. Lockers are fixed with screws and clamps. The screws are used to attach the locker to the underside of the front bumper (and on some models - to the front fender).
3. The latches can be released with a fork tool, although in some cases more force may be required.
Rear wheels
4. Place wheel chocks under the front wheels. Raise the rear of the vehicle and securely jack stands under it (see «Lifting and placing the car on supports»). Remove the corresponding rear wheel.
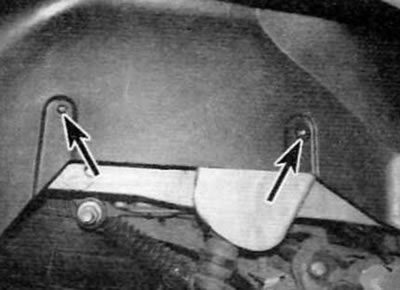
5. Turn off two nuts of fastening of a locker to a body (pic. 23.5).

Pic. 23.5. Remove two nuts (marked with arrows) fixing the rear wheel arch locker to the body
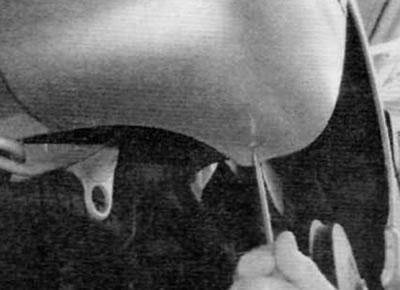
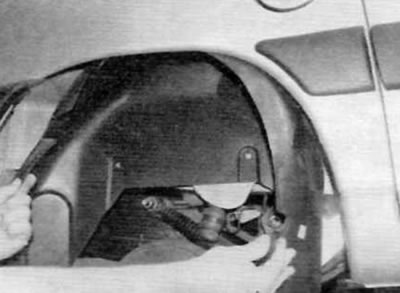
6. Remove the screw securing the locker to the rear bumper and remove the locker from under the wheel arch (pic. 23.6, a. b).

Pic. 23.6, a. Remove the screw securing the locker to the rear bumper...

Pic. 23.6, b....and remove the locker from under the wheel arch
Moldings and trim emblems
7. Various moldings and body trim emblems are fixed with special adhesive tape. Removing the molding/emblem requires heating it to soften the adhesive and then cutting it away from the surface of the body. Due to the high risk of damage to the vehicle's paintwork, it is recommended that this operation be carried out by a Peugeot/Citroen dealer.
