Note. Before starting work, please refer to the paragraph «Disconnecting the battery».
Removing
1. The battery is located on the left side of the engine compartment.
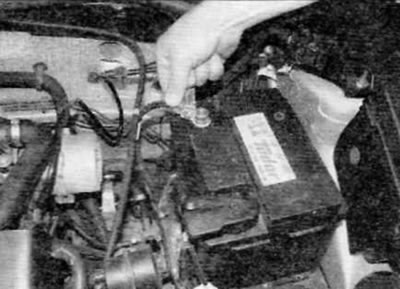
2. Loosen the clamp nut, and then disconnect the ground wire from the negative battery terminal (pic. 4.2).

Pic. 4.2. Loosen the clamp bolt nut and disconnect the wire «masses» from the battery terminal
3. Disconnect the positive wire from the appropriate terminal. Fastening to the positive terminal is done either with the clamping bolt described in point 2 or with a quick-release connection whereby the removal of the plastic cover automatically releases the clamp on the terminal (pic. 4.3).

Pic. 4.3. Remove the plastic cover to disconnect the positive wire quick clamp from the battery terminal
4. On early models, unscrew the nut, unscrew the bolt and remove the battery clamp from the stud (pic. 4.4). Remove the battery from the engine compartment.

Pic. 4.4. Battery clamp nut and bolt (marked with arrows) on early models...
5. On later models, unscrew the nut securing the battery clamp to the stud on the battery shelf and remove the clamp (pic. 4.5). Slightly slide the battery towards the engine to release the tab on the battery case from the battery tray, and then remove the battery from the engine compartment.

Pic. 4.5....and clamping nut (marked with an arrow) on later models
Installation
6. Installation is carried out in the reverse order of removal. Apply petroleum jelly to the terminals after connecting the wires, and be sure to connect the positive wire first and the wire last «masses» battery.
